
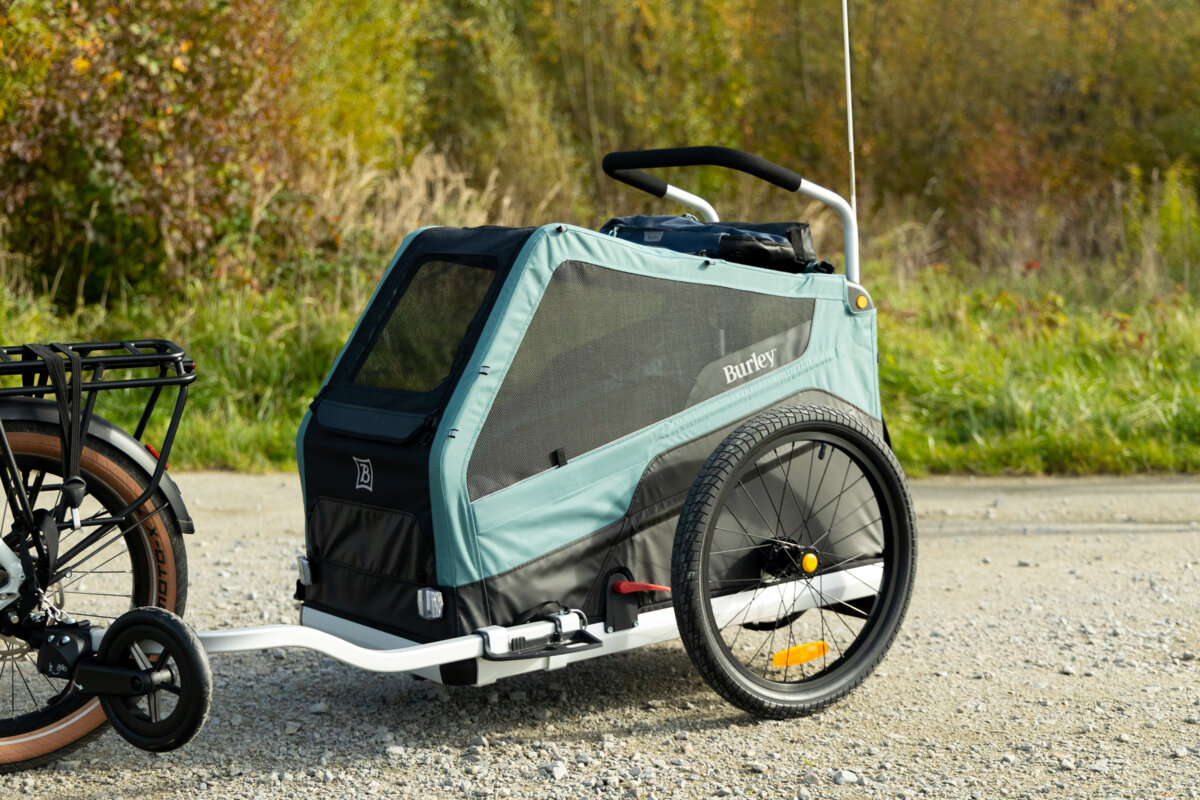
Dog owners know the problem: Hardly a dog can go on long tours. Dog trailers are a real alternative so that you don't have to do without cycling. But what do you have to consider and which dog trailer is really good? We looked at the dog trailer benchmark, the Burley Bark Ranger, and give tips so that the four-legged friend accepts the trailer without any problems.

Burley is a fixture in the bike trailer segment and the Bark Ranger isn't their first dog trailer, but it's their newest and has been available since 2022. It is available in 2 sizes, for dogs up to 35 kg and for large dogs up to 45 kg. We tried the smaller of the two and we were very happy, as was our furry passenger, by the way. The dog doesn't have to pay for something like that, the bill goes to the master and that has to take a deep breath at €679 for the smaller trailer and even €799 for the big one. If you want to save, grab the Burley Tail Wagon, you can get it for less than 500 euros.

But we also want to be honest and say that prices for child trailers are often in four figures, and that comparable dog trailers from other manufacturers have a similar or higher RRP. Most people who love their four-legged friend and don't want to do without cycling are willing to spend a relatively large amount of money to have their companion with them on bike tours. The price is also due to the fact that the Bark Ranger spoils the furry passenger with many details that are otherwise only known from child trailers, the older dog trailer from Burley, the Tail Wagon is significantly cheaper but also much more simply equipped.
Burley Bark Ranger - details make the difference
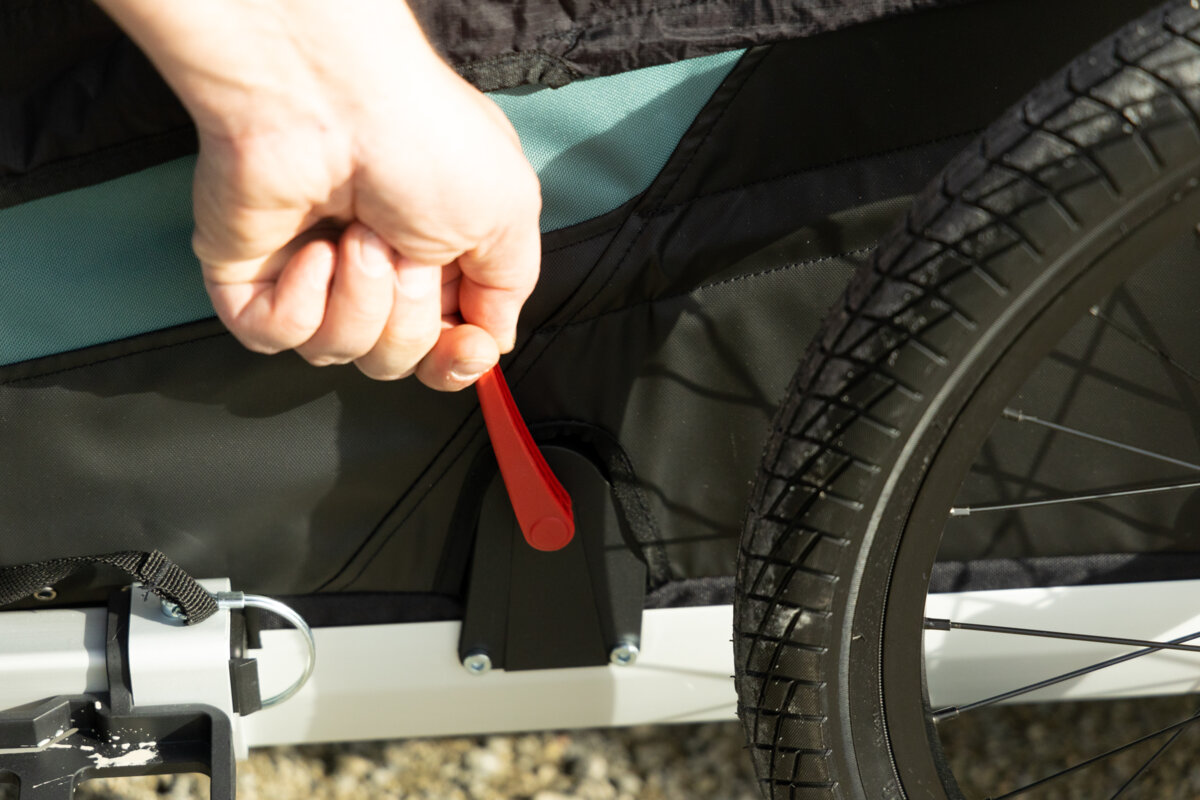
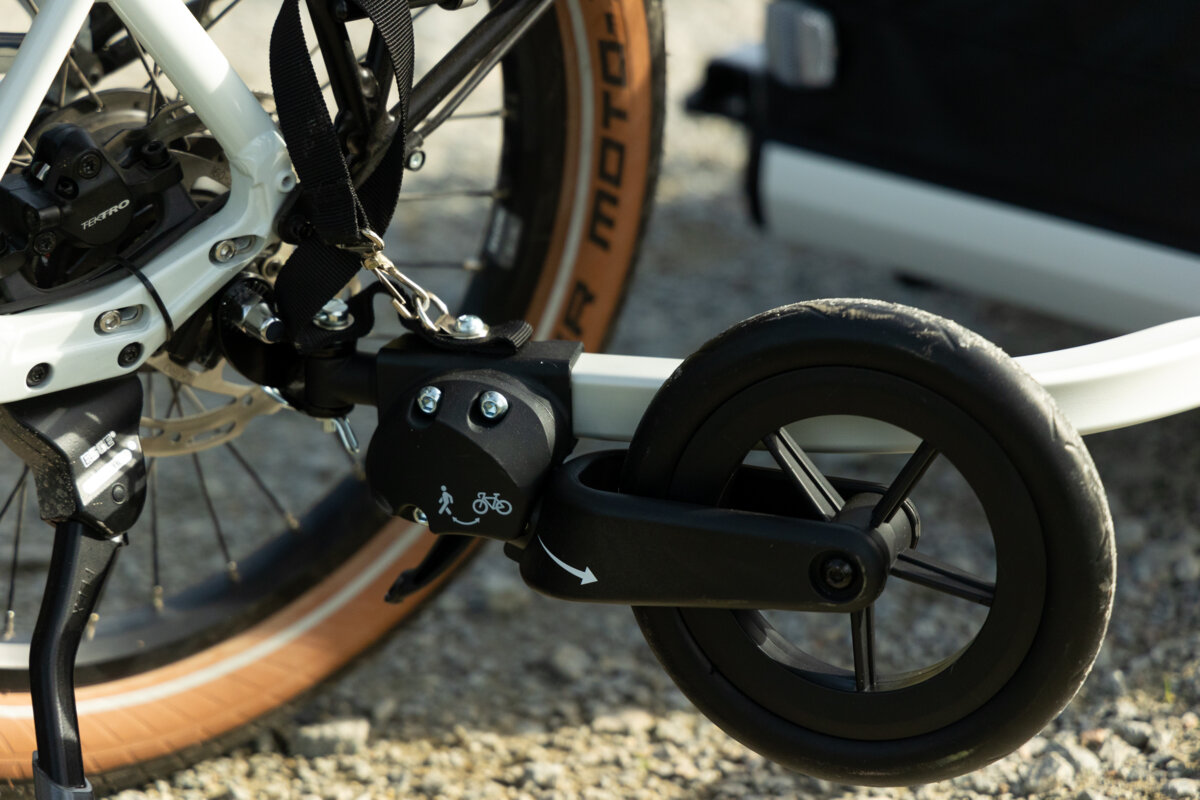
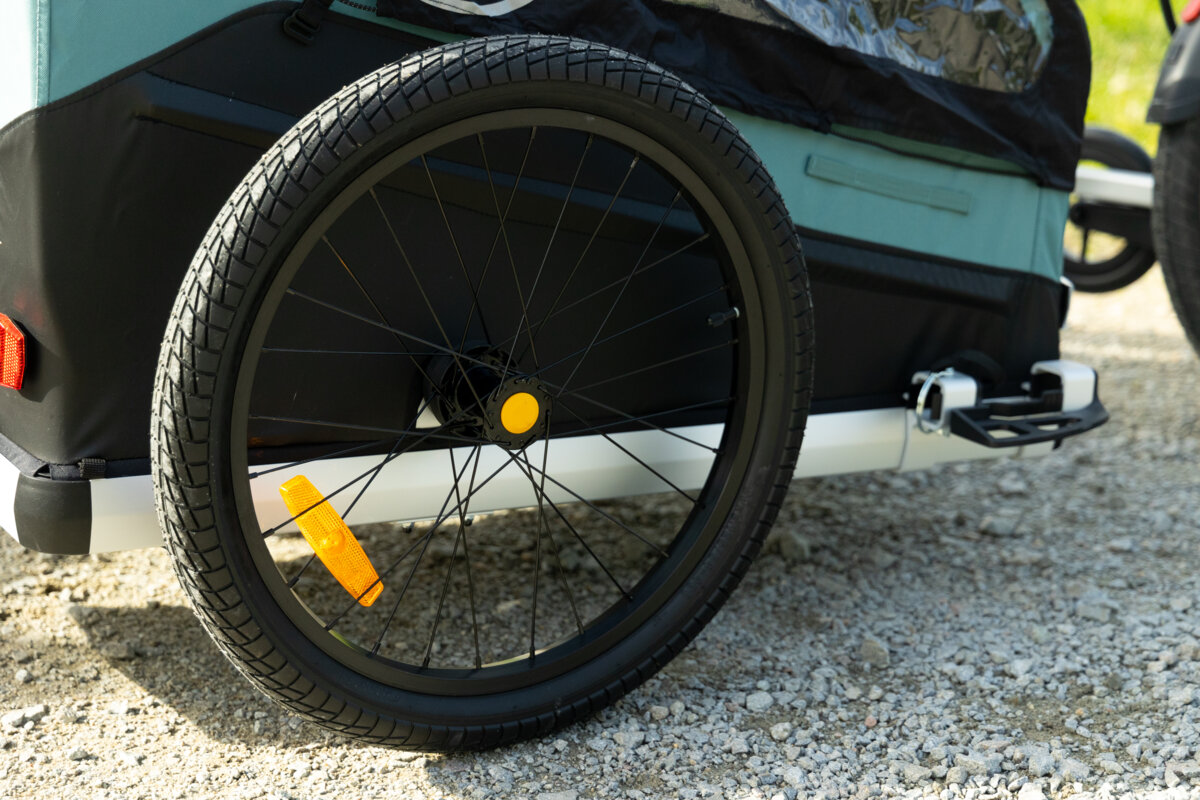
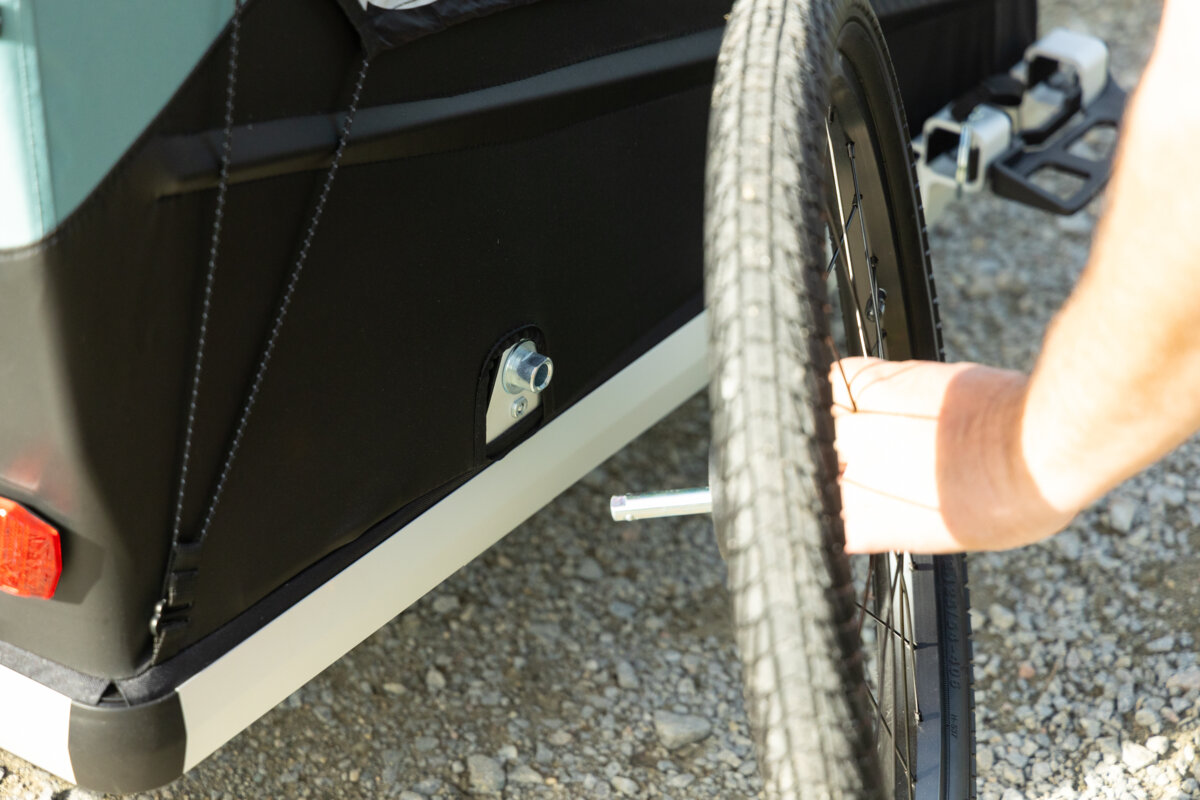
Features that are more familiar from trailers for human offspring are the parking brake and an adjustable bracket along with a foldable wheel on the drawbar to turn the trailer into a stroller (or better: dog stroller). The floor inside the Bark Ranger is covered with egg art felt, which looks robust and is more comfortable for the dog than plastic. The Bark Ranger can be folded up in just a few simple steps, the wheels can be removed and the drawbar can also be dismantled.
Smart accessory for the Burley Bark Ranger
A plus in terms of comfort and protection is provided by the rain cover, which can be fitted quickly and easily and, when not in use, can be stowed away in a kind of pack sack and tidily awaits use on the roof.


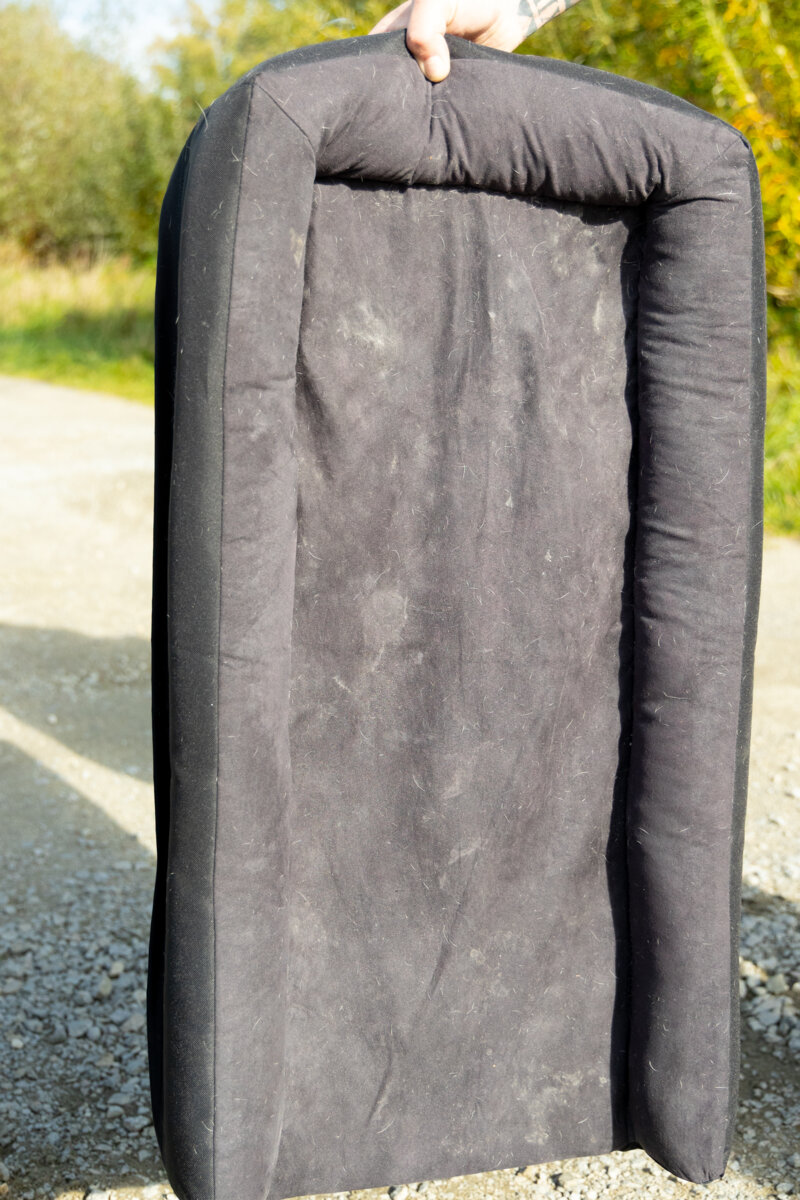
There is also a matching dog bed, which is very well made. The filling is shrink-wrapped and the cover is washable. That's the way it should be, because the dog always brings wetness and dirt into the trailer. Our animal tester really liked the bed!
Also well made is the stand that can be optionally mounted under the rear. If the dog gets in or out, the trailer will not tip even if it is not coupled.
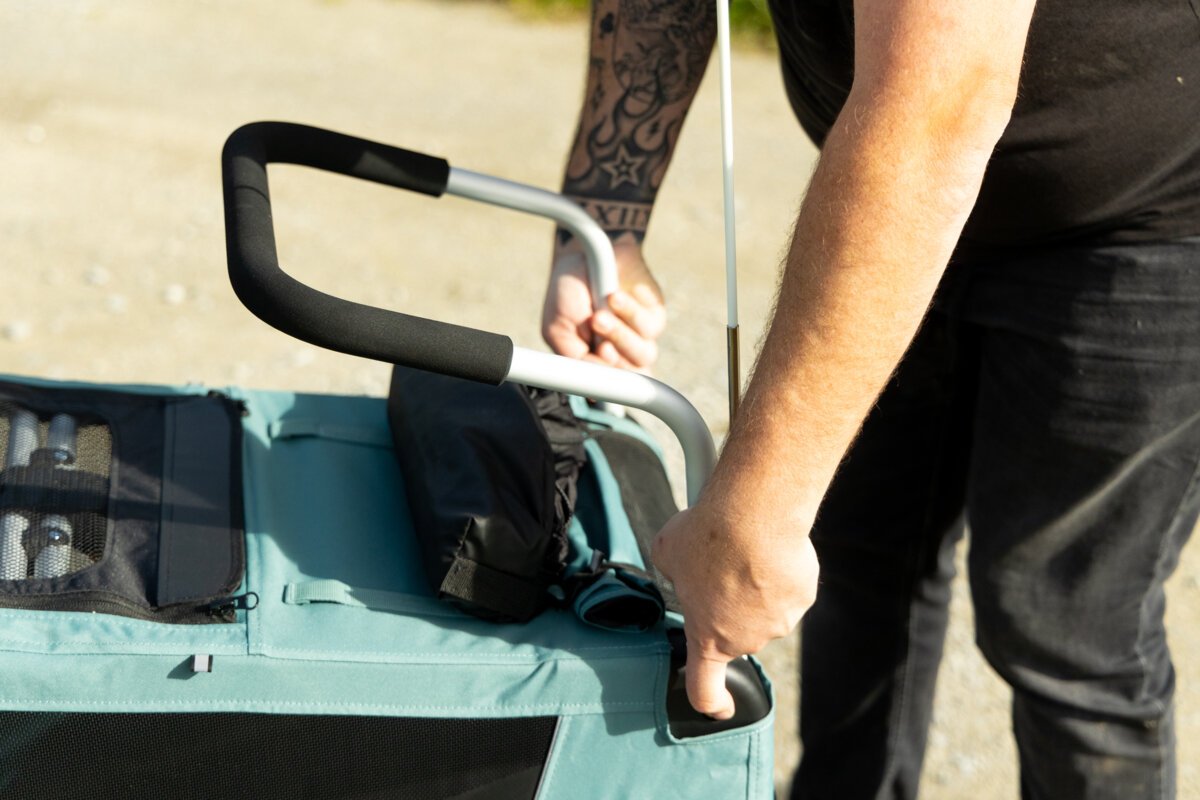
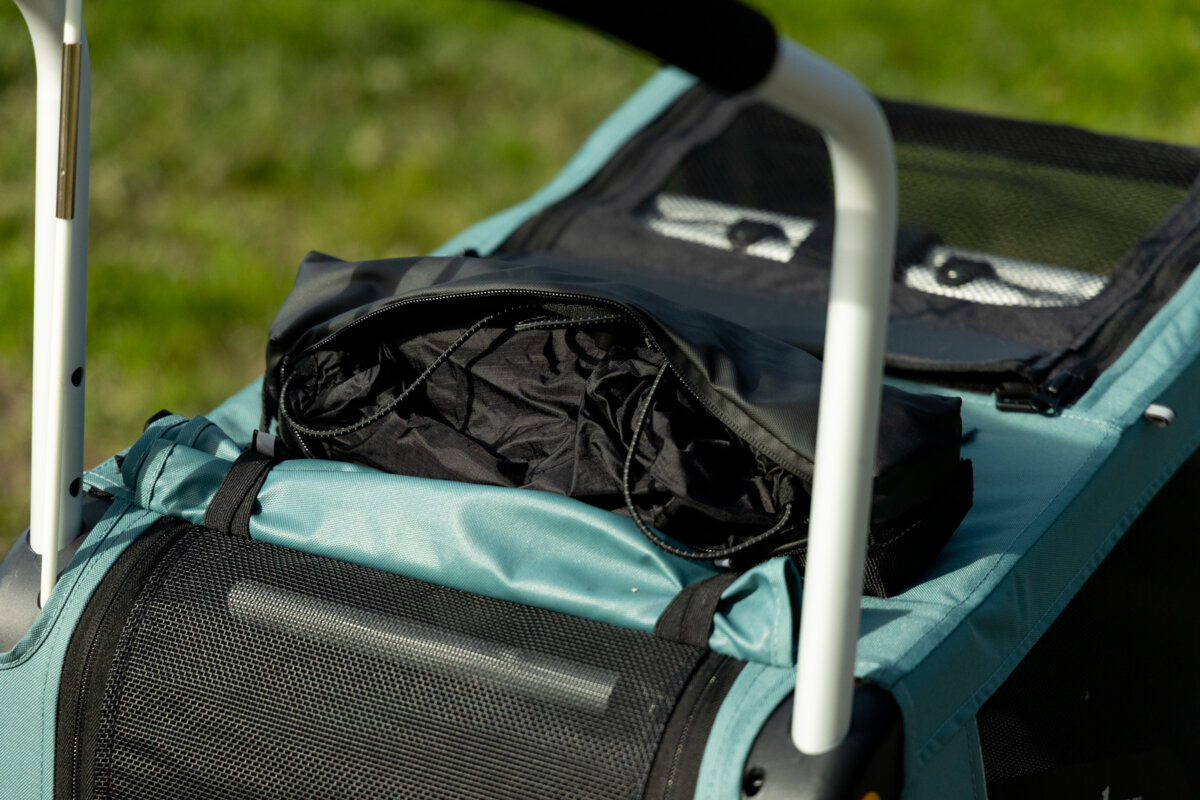
Another nice feature is the pocket, which can be attached to the straps provided on the top and offers space for various things, from treats to water bottles.

Our verdict on the Burley Bark Ranger
Let's put it bluntly: It's not a cheap pleasure. With all accessories, the trailer costs almost 900 euros. But that is the only point of criticism. The Bark Ranger trailer and its accessories are well thought out and everything looks high quality. Functionally, too, we can only praise and not criticize anything. A great product at a price to match.
Our colleagues from the Bicycle Press Service have a few general tips for getting your dog used to the bicycle trailer:
Step 1:
reduce fears. A dog trailer can be intimidating to dogs at first. In order for the fear to dissipate as quickly as possible and, ideally, not to set in in the first place, you should simply place the tag close to the dog like a new piece of furniture. This way the dog can inspect it and quickly become familiar with it. He just stays there until the dog understands that there is no danger from the new box. When this is, whether after one day or three days, you can best tell by looking at your own dog. By the way: Stress and fears are quickly transferred from owner to dog. Therefore: If you approach the matter with patience, calmness and confidence, then the dog is also much more relaxed.
Step 2:
tunnel exercise. The classic from the puppy school also helps with getting used to the trailer when it comes to accepting the unknown and daring to explore further and further. To do this, stand on the drawbar side of the trailer and lure the dog into the interior and finally through it with treats. The reward for going through will come immediately afterwards. It can also work to turn the trailer into a place to hide and find your favorite toy. The more positively the dog's interior space is occupied, the better.
Step 3:
Take food in the trailer. The next step in getting used to the trailer is staying in the trailer for a longer period of time - and the food is a welcome highlight in the dog's everyday life for the purpose of getting used to it. Therefore, the feeding place is moved to the inside of the trailer without further ado. With this new step, care should be taken not to distract the dog. You quickly notice that the dog needs a little effort to stay in a confined space for a long time. But the food rewards.
Step 4:
trailer as a berth. The more time the dog spends resting and relaxing in the trailer, the better it is for stress relief. To do this, simply place the dog blanket in the trailer and place it in the place of the usual berth. In addition, you should close the rear hatch and, if available, the roof hatch. The goal of the exercise is achieved when you can also close the access hatch without the dog being noticeably stressed or anxious. You can only move on to the next step when the dog is completely normal and playful with the new housing.
Step 5:
roles in the living room. This step shows how well the four-legged friend has gotten used to his new vehicle. Trust in the dog handler and also in the vehicle is now being put to the test for the first time. First you attach the wheels and drawbar to the trailer and do some tipping exercises with the dog in the trailer. The dog must also be able to get used to the movement of the vehicle in peace. The better this works, the easier it is to combine the exercise with careful rolling in the living room. Here you can also reward generously - because this exercise costs the dog a lot of effort.

Step 6:
Attach trailer to bike. If the dog feels safe in the rolling trailer, it can finally go out into the fresh air. The connection between bike and trailer is made by means of a coupling. This can be a universal coupling with which the drawbar is simply clicked onto the counterpart. Bicycles are increasingly equipped with so-called quick-release axles. Most good companies offer thru axles in all imaginable lengths and thread types, this ensures that the trailer fits every bike. You should definitely make sure that the bike is standing securely. This prevents the bike from falling over due to too much movement in the trailer.
Step 7:
Dog jumps into the trailer. Of course, it is best if the trailer can be attached without a dog and the dog then jumps in by itself. This too can and should be designed as a game or exercise. To do this, you lure the dog into the trailer, as in the tunnel exercise, and let it lie down first so that you can close the access hatch.
Step 8:
Please do not leash in the trailer. Actually, nothing should disturb the dog anymore. Actually. However, this can never be completely ruled out. Sometimes a squirrel scurries along the side of the path or the archenemy next door appears around the corner... To avoid (successful) escape attempts, you should always close the exit hatch securely. With the current models, great importance has been attached to reliable escape protection. Leashing makes no difference and is rather dangerous, as the dog could become entangled with it - the flap keeps the dog inside extra securely for that reason.
Step 9:
Pushing bikes and trailers (with and without visual contact). The dog already knows this exercise from the safe living environment. You have to observe carefully how he feels in the trailer with other environmental influences. Are there situations that scare or upset him? Dogs can be stressed out in situations that would otherwise not bother them. He understands that he has no way of escaping in the trailer and has to learn that nothing can happen to him anyway. Stressful situations should be dealt with and the dog rewarded for overcoming them.
Step 10:
Free ride! For the first trips, it is best to choose routes with little potential for distraction and communicate calmly with the dog. Only when he is completely safe and relaxed in the trailer can you venture out on routes with more traffic or in the city. It's easy to see that if you give your dog and yourself enough time to get used to the new vehicle, they won't be able to wait until it finally starts again!

Pictures: Patrick Sturm


Leave a Comment